
A little room to wonder
Microscope Scale & Magnification
Use a calibrated scale bar to calculate specimen size and explain why enlarging a picture does not reveal new detail.
What stays the same when a micrograph is printed twice as large?
Separate the object from its image
A microscope image can be much larger than the structure it represents. Magnification is a ratio of image size to actual size, with both lengths expressed in the same units. It is a property of a particular viewing or printing arrangement, not an extra feature of the specimen.
A micrometre, written µm, is one thousandth of a millimetre. Converting units first avoids a calculation that compares a number in millimetres directly with a number in micrometres. The size of the symbol on the page has no relation to the size of that unit.
A scale bar travels with the image
A calibrated scale bar represents a stated specimen distance. If the image and bar are resized together, their ratio is preserved. A magnification label such as 400× may become misleading after resizing; a correctly included bar can still support measurement.
Calibration and resolution are separate. A bar lets you relate distances, while resolution concerns whether nearby features can be distinguished. Making the same pixels bigger does not recover information that the original imaging system did not capture.
Worked example: compare a bar and a cell outline
On an invented printed micrograph, a bar labelled 100 µm measures 40 mm. A cell outline on that same print measures 80 mm. It is twice the bar length, so its modelled actual length is 200 µm, or 0.2 mm. The print magnification is 80/0.2 = 400.
Now enlarge the entire image by a factor of two. The bar measures 80 mm and the outline 160 mm, so the inferred specimen length remains 200 µm. The print magnification becomes 800, but there is no new evidence about smaller cell structures. The calibration is fictional, not supplied by the nearby real photograph.
Measure a defined feature with an uncertainty
Choose endpoints before using a ruler. A blurry edge can make a difference to a small measurement, and a tilted structure may require a different direction from a horizontal page width. State a reasonable precision rather than inventing many decimal places.
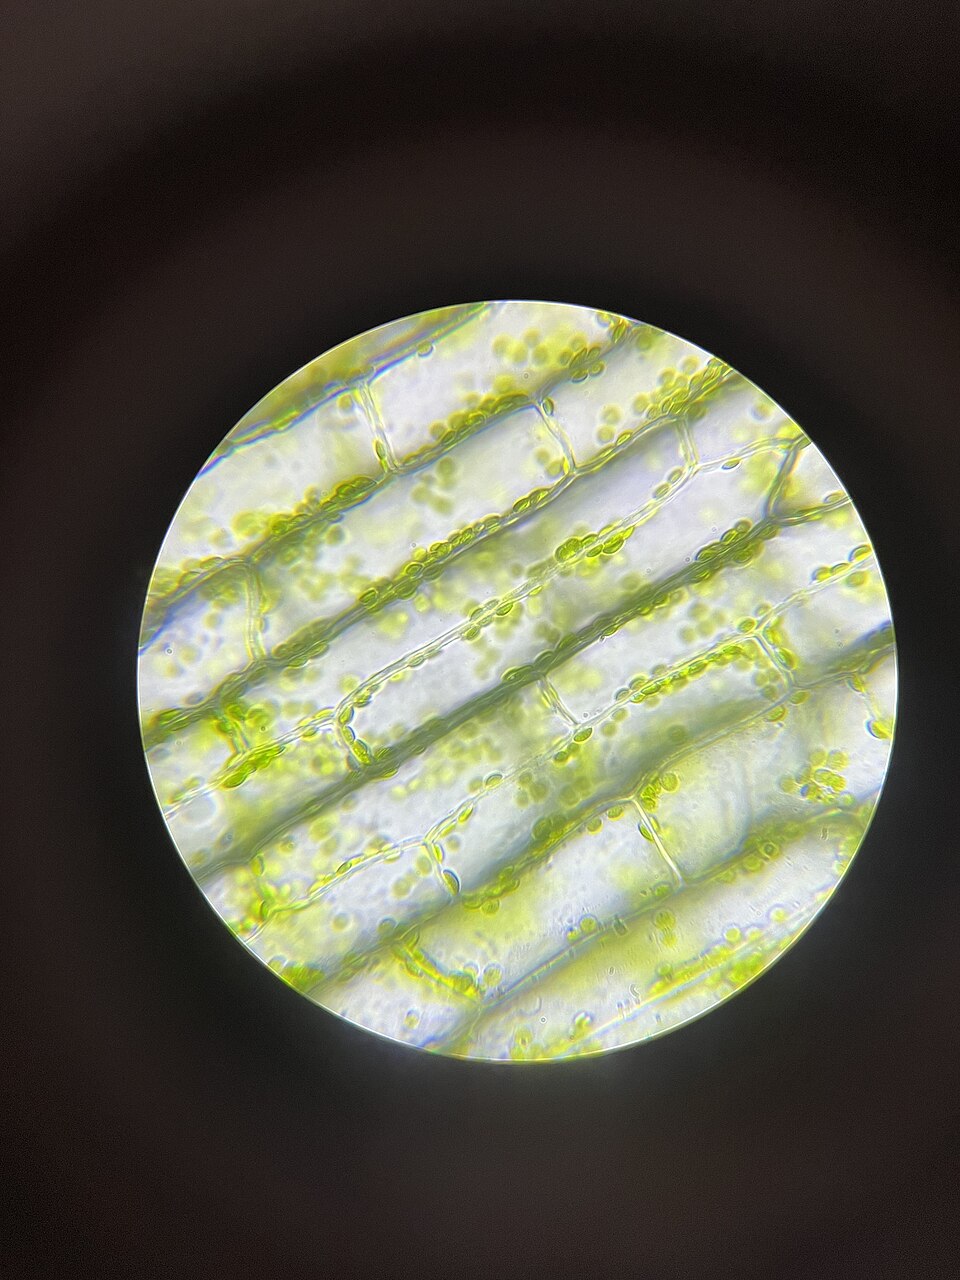
Without a valid scale or calibration, the approved Elodea image can support observations about visible arrangement, but not an exact cell length. A useful conclusion may therefore be “a calibrated image is needed”, instead of a precise-looking answer derived from an unknown screen size.
Only if you feel like trying
Resize a calibrated paper model
- Draw a 40 mm scale bar labelled 100 µm and an 80 mm fictional cell outline.
- Draw a second version twice as large and check both specimen-length calculations.
- Explain why the second version changes print magnification but does not add resolving detail.
Optional. Use paper or talk through the supplied fictional example. No purchase, personal information, account, public sharing or practical experiment is needed.
Look at the sources.
These references offer further reading on the ideas here. Check who published them, what they support and what you would ask next.
- Oak National AcademyElectron microscopy, and the size and scale of cells
Research checked 1 November 2026. External pages have their own content and privacy practices.
Where could this connect?
These are editorial links between subjects. You choose which, if any, to follow.
Biology
Microscope scale connects biological observations to calibrated, unit-consistent measurements.
Follow this connection
Cells & Microscopy
The introductory microscopy article supplies the cell context; this article focuses on calibration and resizing.
Follow this connectionRatio & Proportion
The ratio between the feature and its bar remains constant under a common enlargement.
Follow this connection